After finally buying a Lego set a couple of months ago (Nintendo Game Boy here), this is now my third set after also making the easy Lego Gingerbread house this Christmas (here) with my family. At nearly a 2000 piece set, this Mario set and standard kart is advertised for adults and should take a number of hours.
I knew I wanted to buy a larger Lego build and fancied trying this Nintendo one. The instruction guide came in at a massive 300+ pages. Having purchased on Amazon, the delivery was fast and arrived the next day. The price was also good at £104 and was listed as £150 on the Lego official site. I used Christmas money/vouchers to make the purchase.

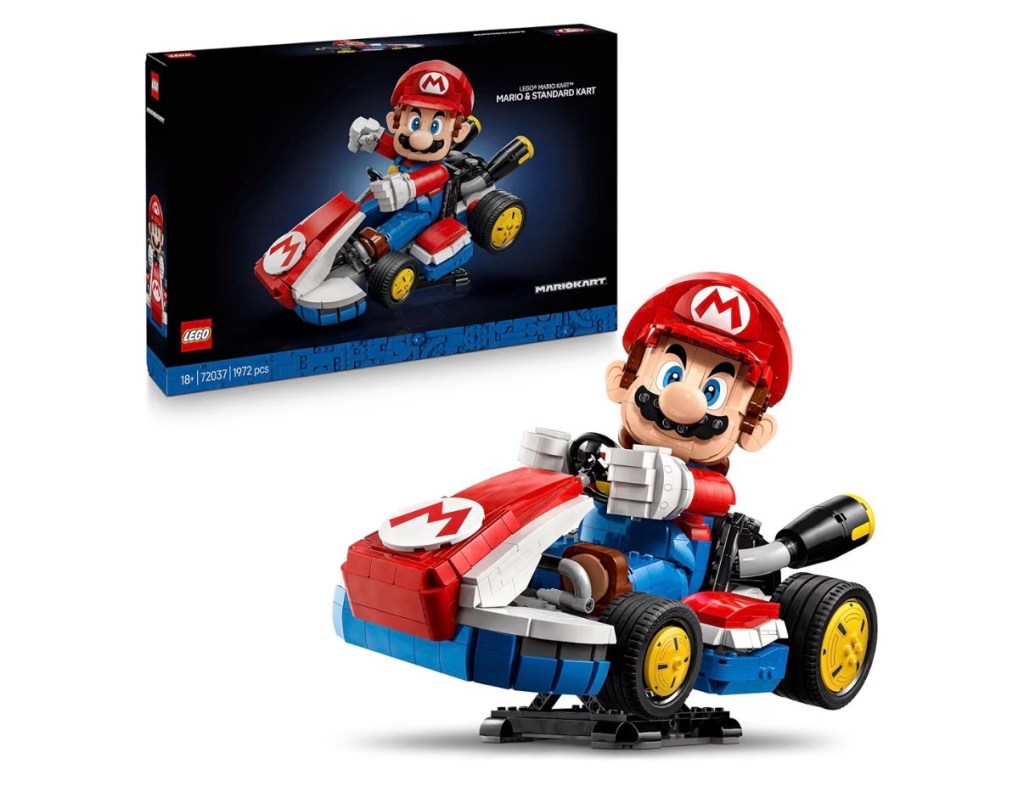
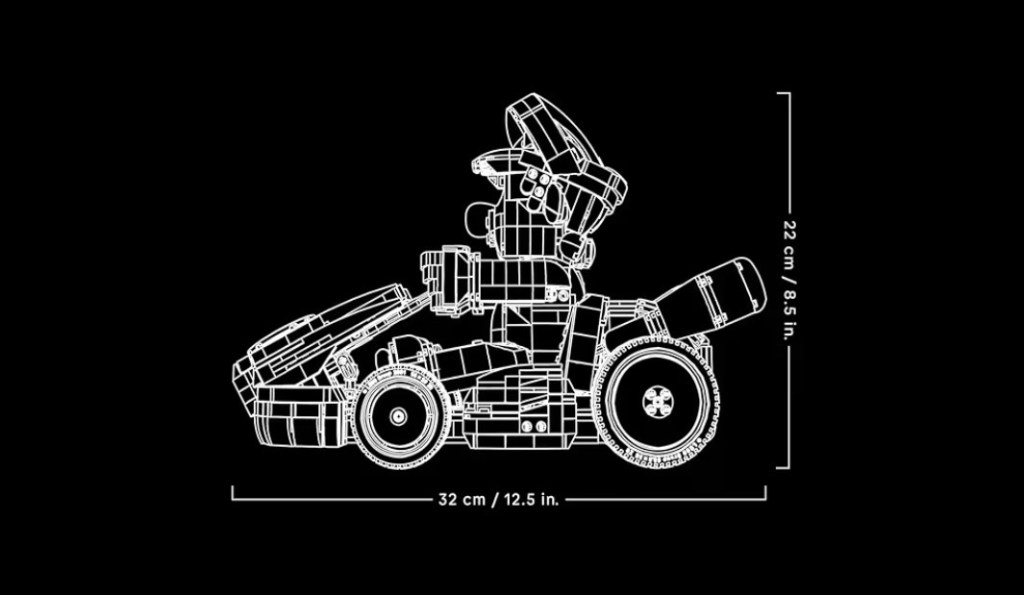
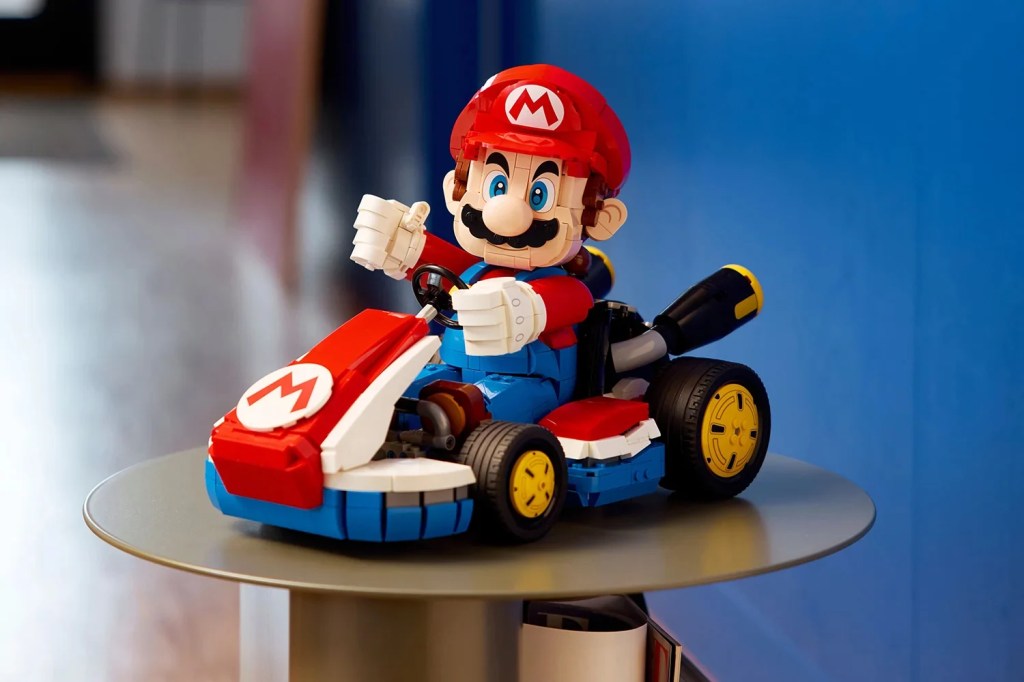
The box was pretty massive and included some 17 packets to work on. Three main sections to build which included a small base, the kart and of course Mario. Once ordered, I was feeling pretty excited about this particular build and could not wait to display it in my home office. In size it is about 12” long by 8” high.
Set wise, I instantly knew I wanted this one as a Nintendo fan. The build construction and quality looked good with no stickers, the designs being printed on the actual bricks and many smooth finished Lego pieces to construct. Once the construction had started, I found it to be an enjoyable and relaxing process.


I spent a couple of hours each day building, over 5 consecutive days.
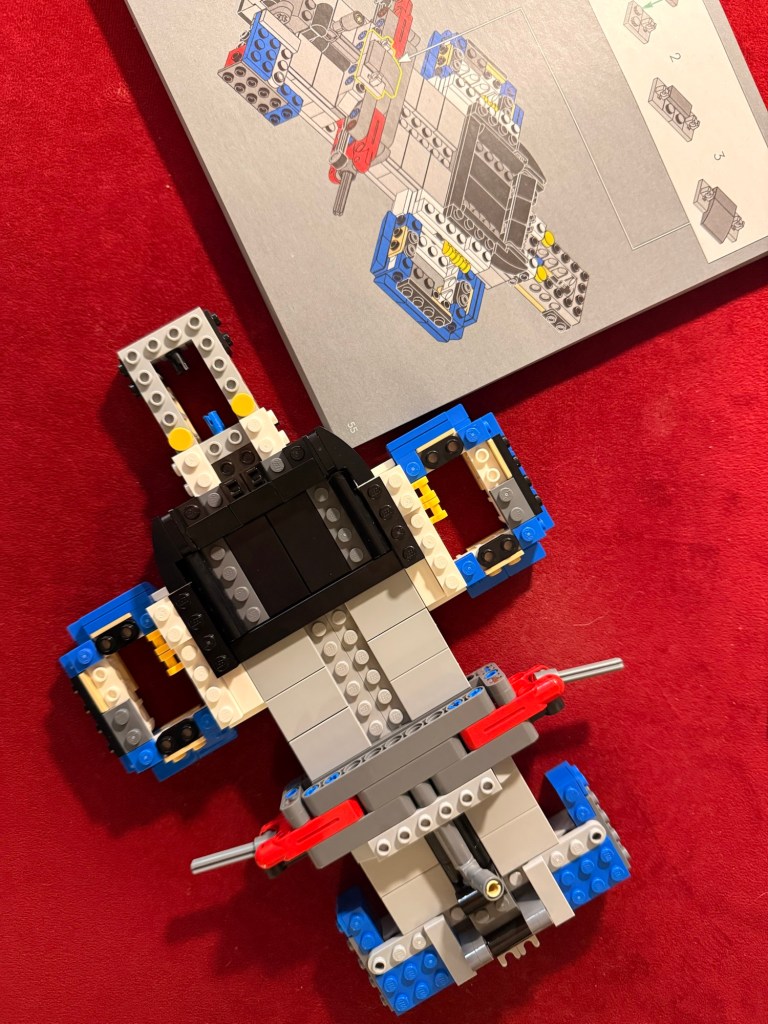
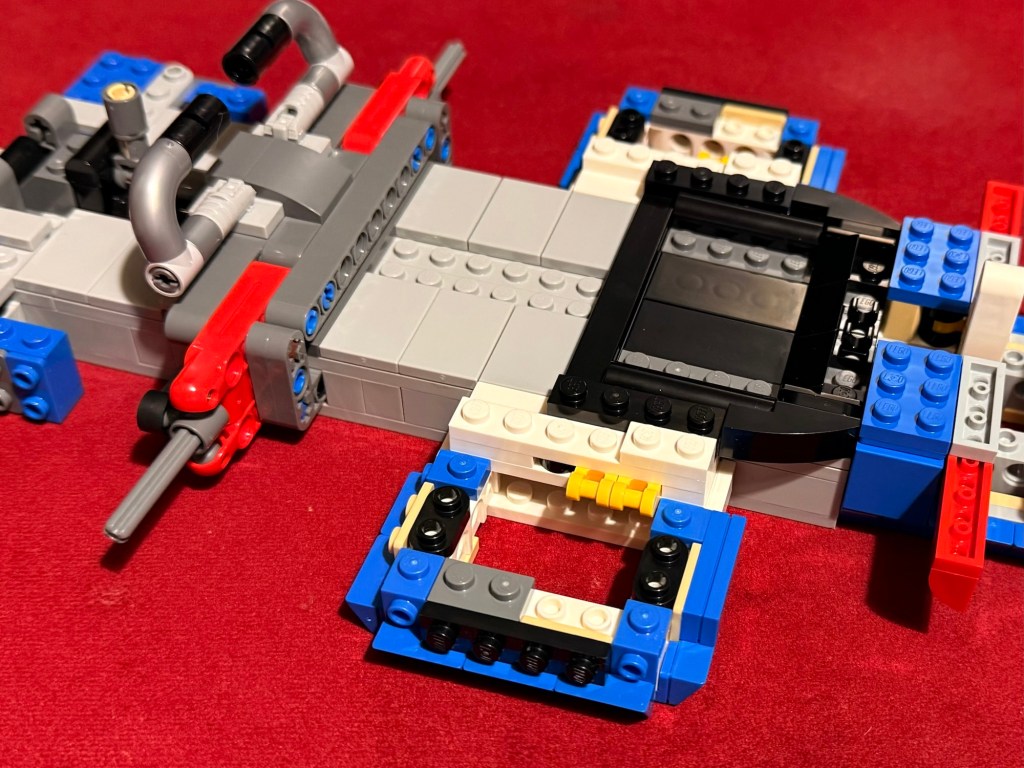
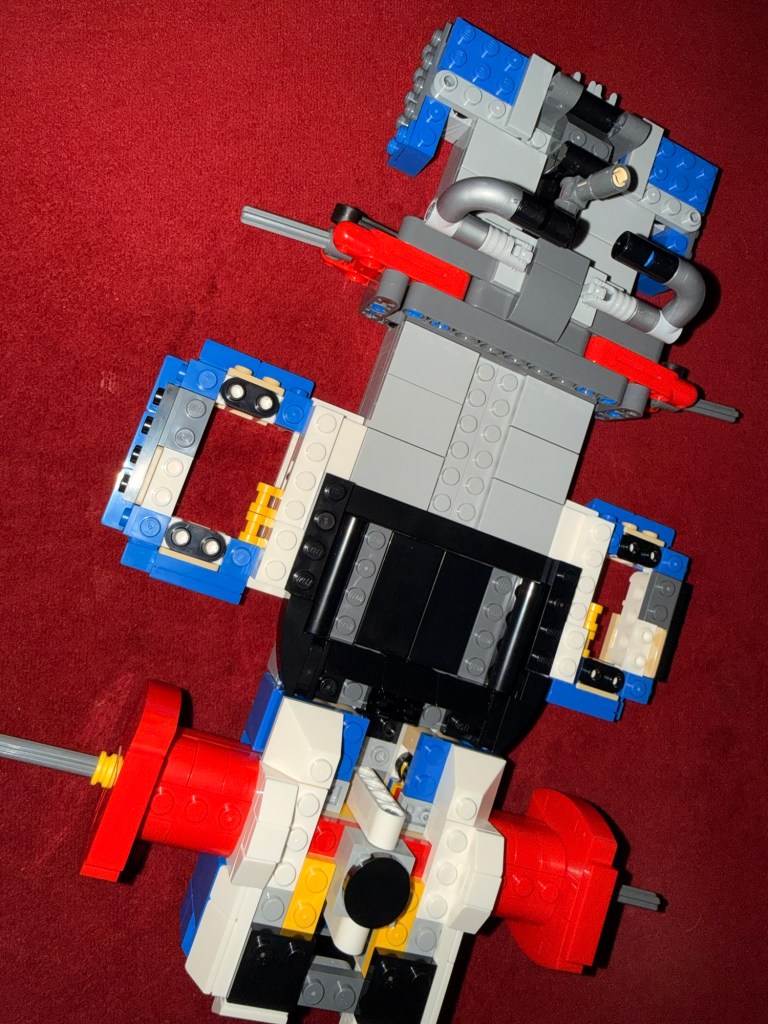
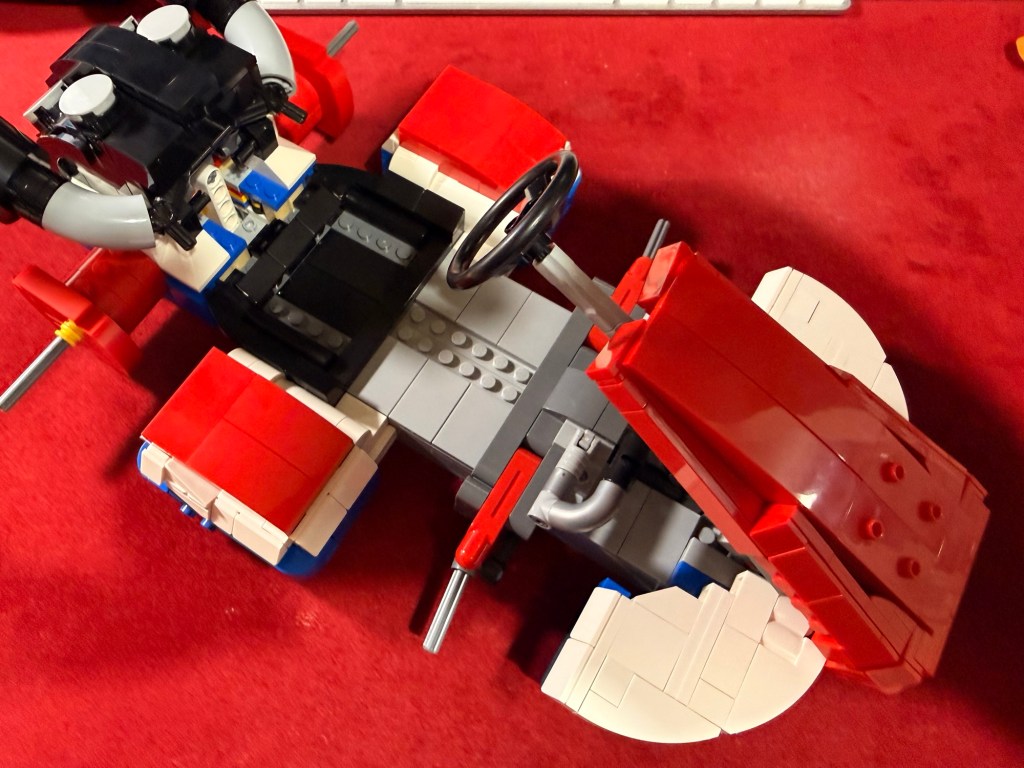
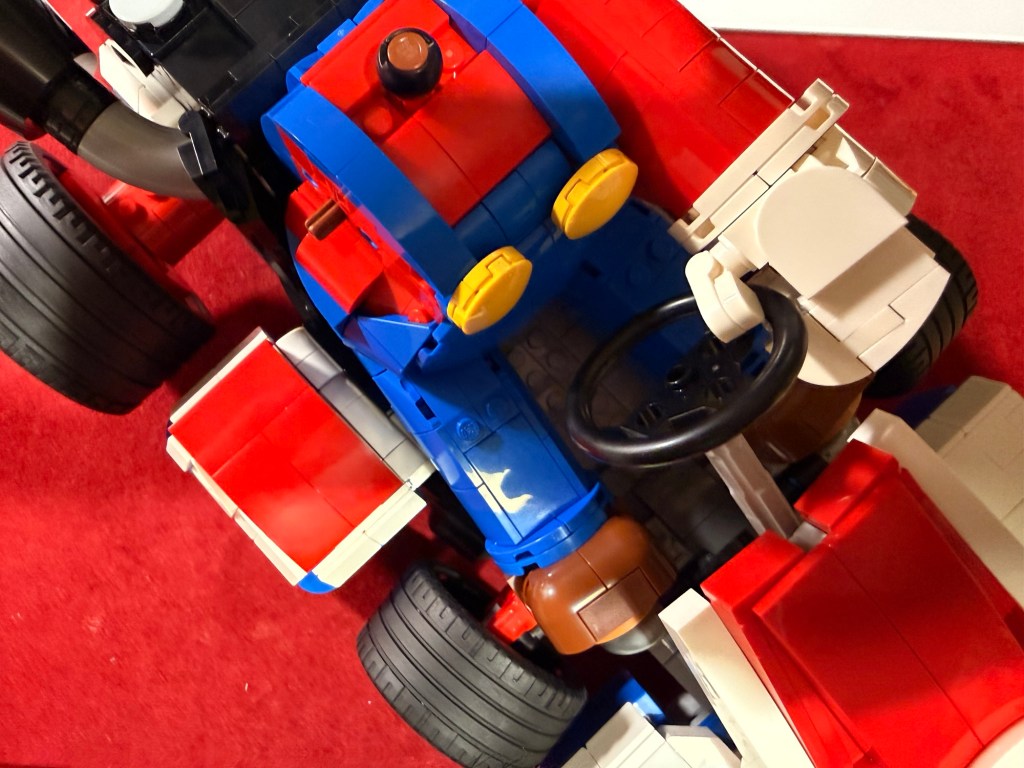
After day 2 and finishing packet 7, the kart was beginning to take a recognisable form with the exhaust and steering with colourful bodywork. Some of the work was more intricate and several parts for the bonnet/front kart section being built and then joined together before connecting to the kart body.

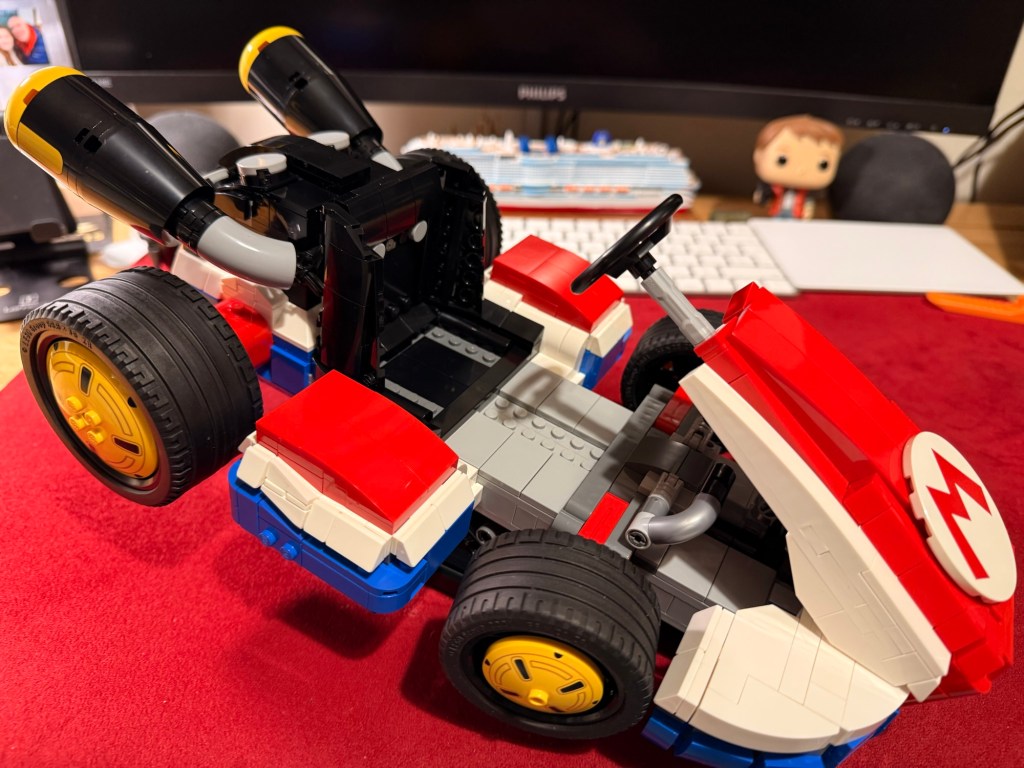
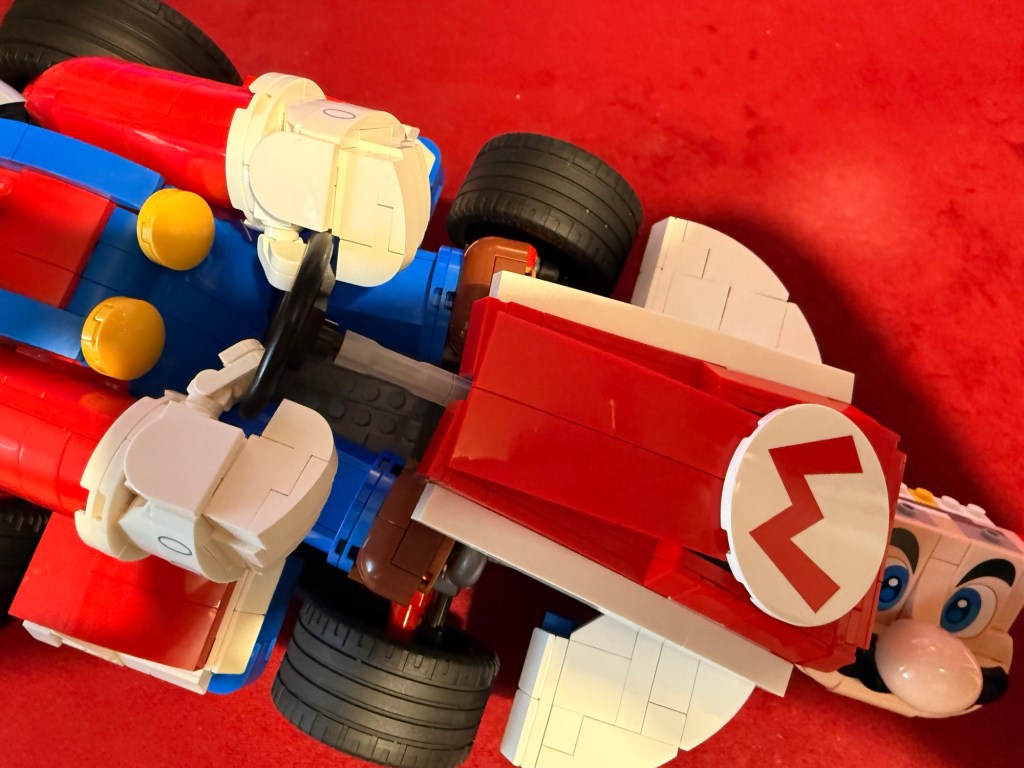
Day 3 building with packets 8 and 9 resulted in the completed kart with wheels and body trims. The kart was looking good and a decent size. The next stage was to work on Mario.


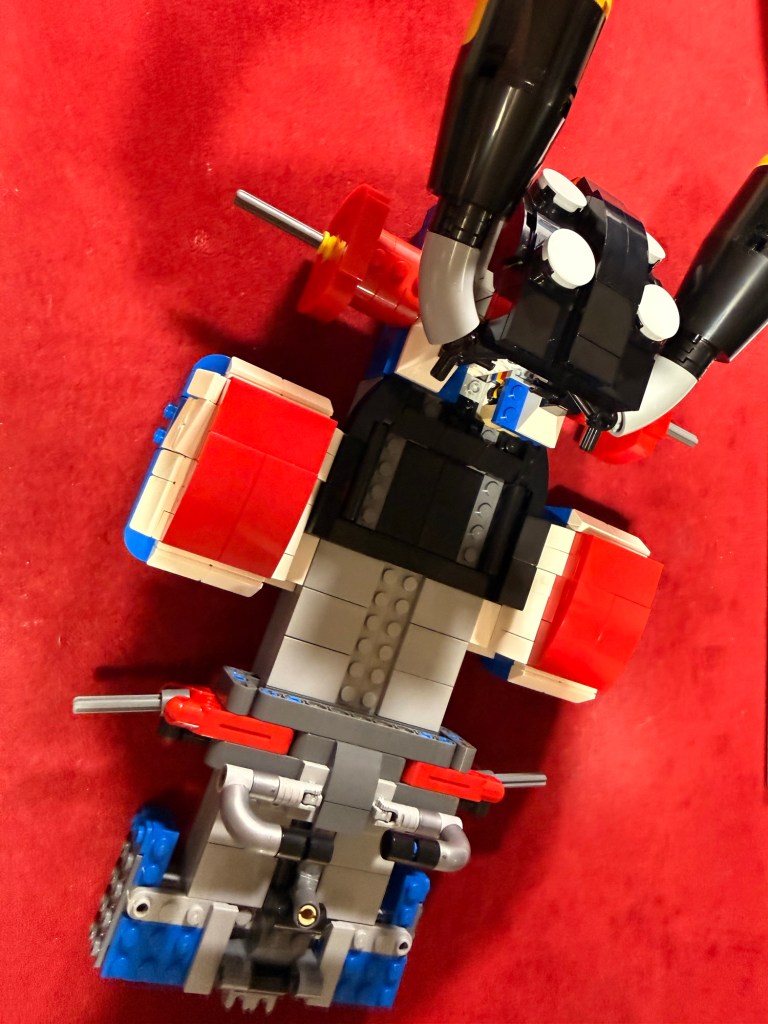
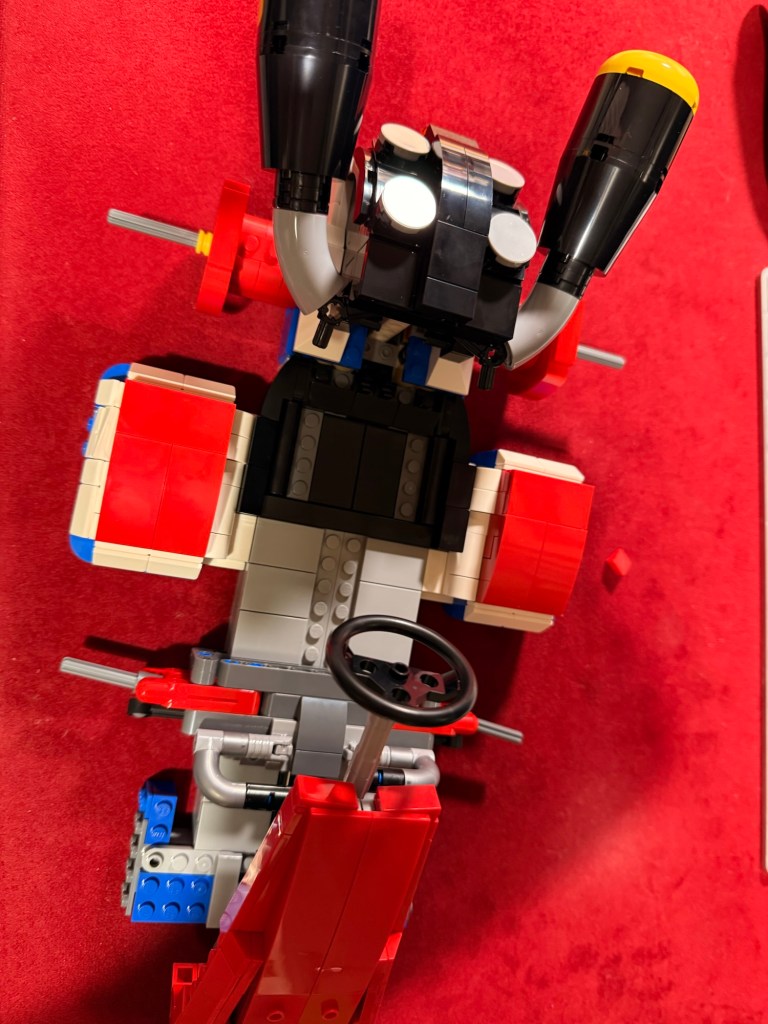
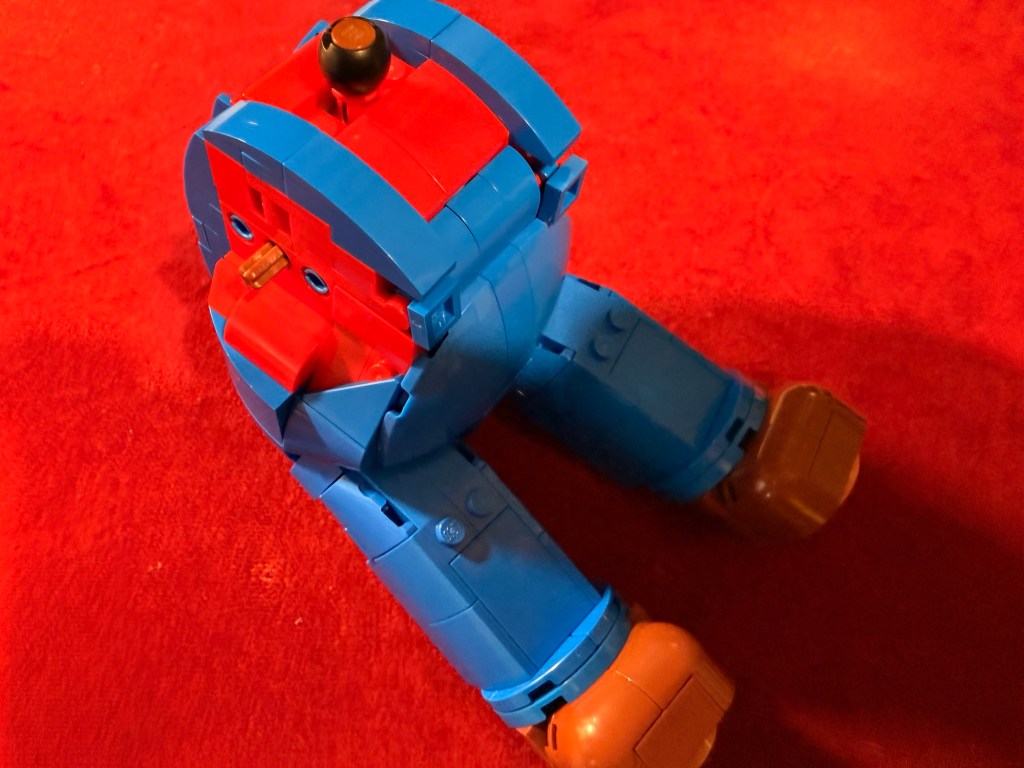
Building Mario on day 4 comprised of the body, the legs and one arm/hand over packets 11,12 and 13. This part of the build was straightforward.

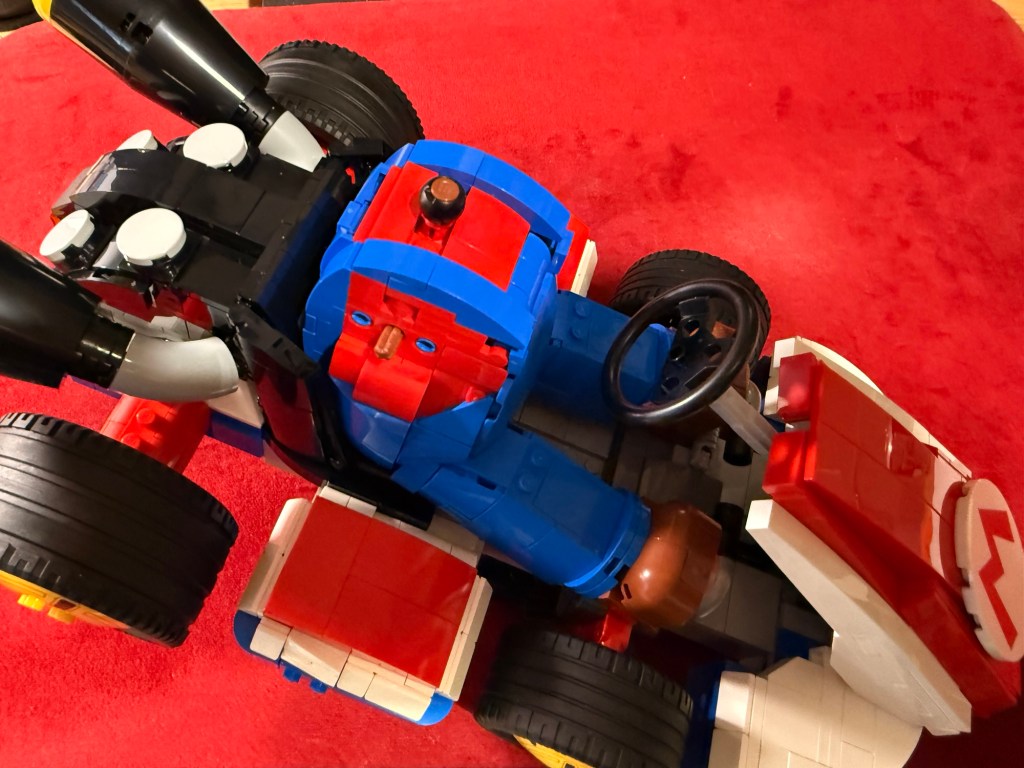
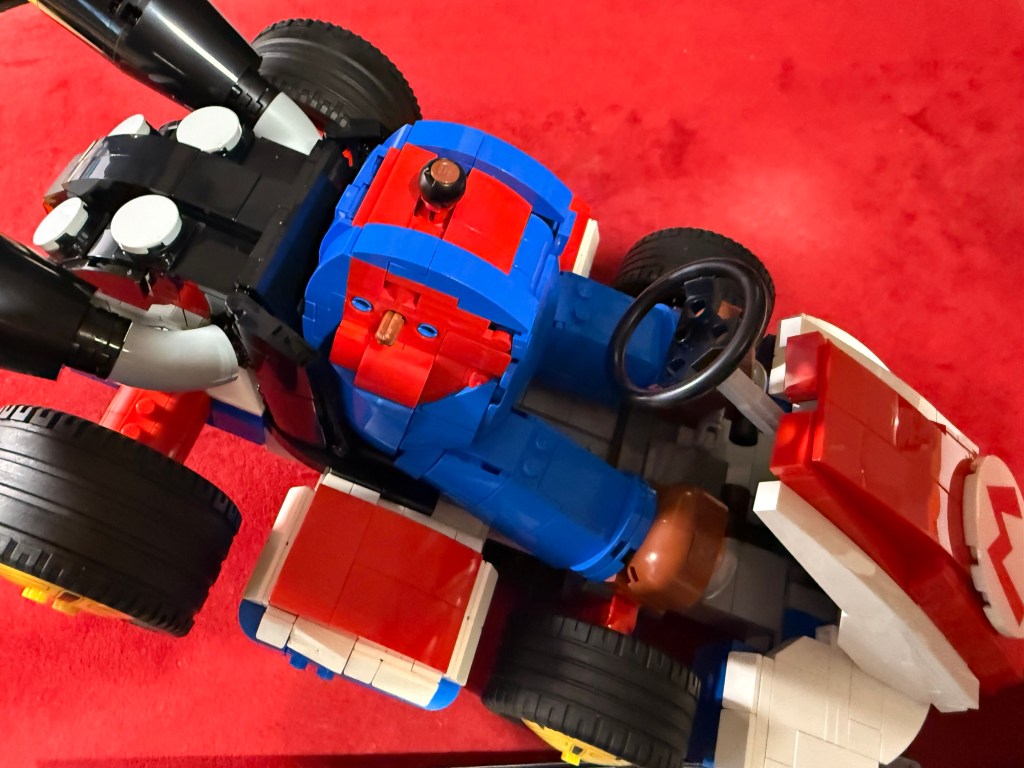
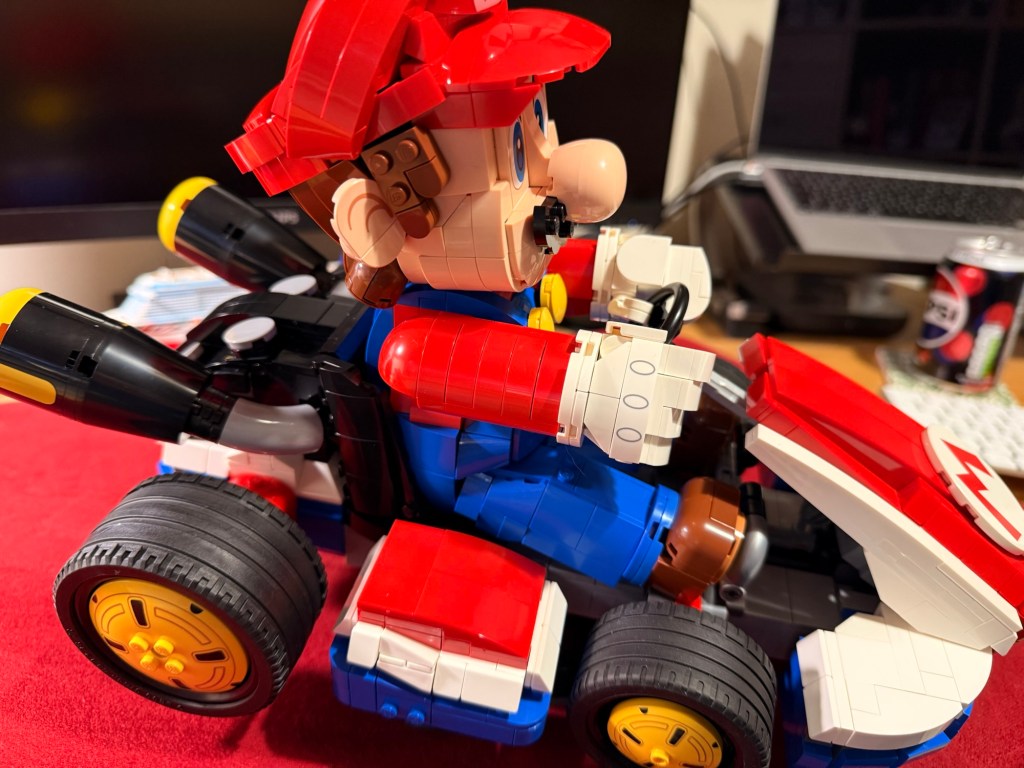
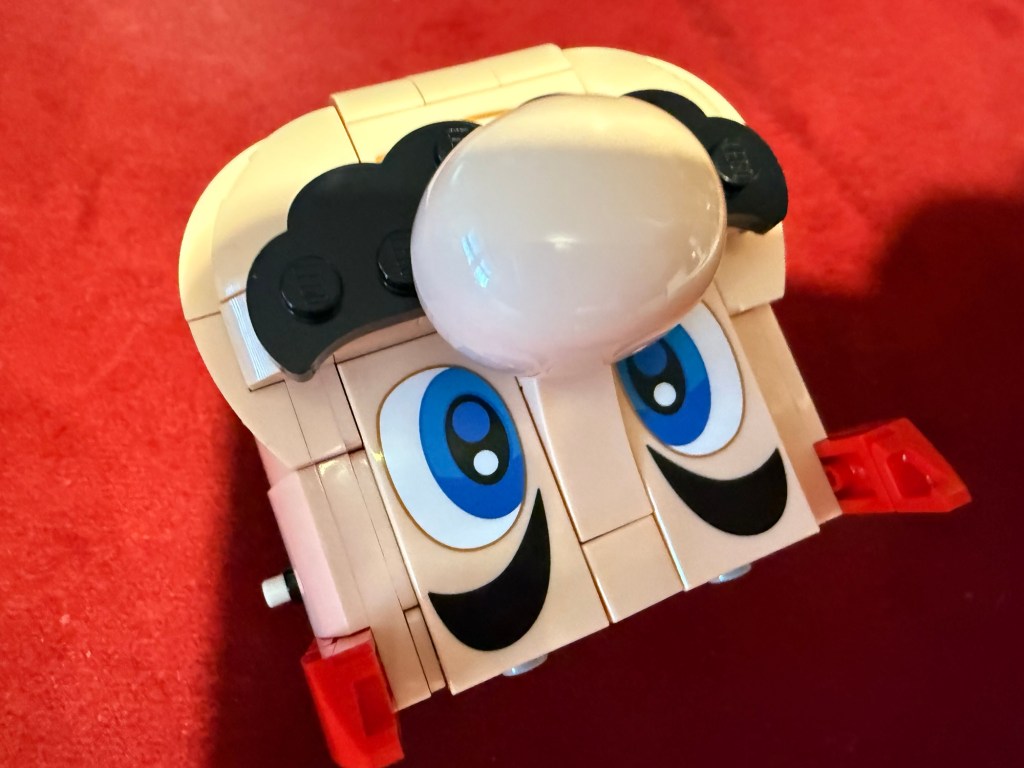
Pacing the build before completing the model on day 5, I spent about 90 to 120 minutes building daily. Day 5 was more involved than I expected with the head. It comprised of facial features, hair and cap, and it involved more building than I expected with packets 14, 15, 16 and 17. Lots of small and moveable sections to construct.
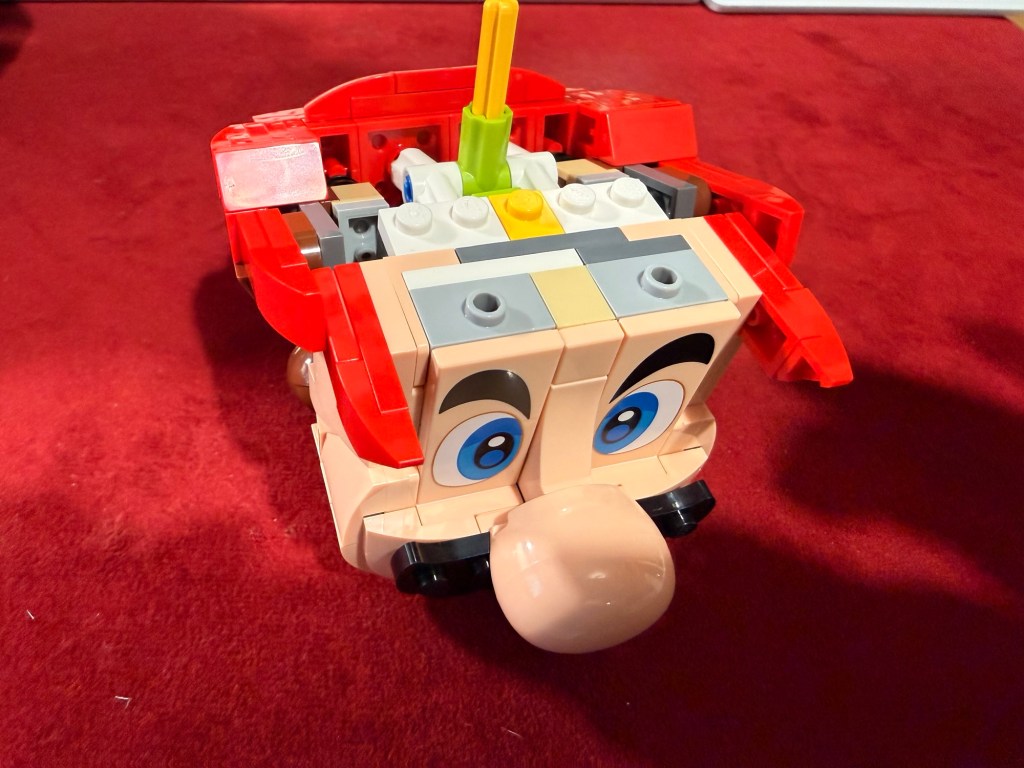
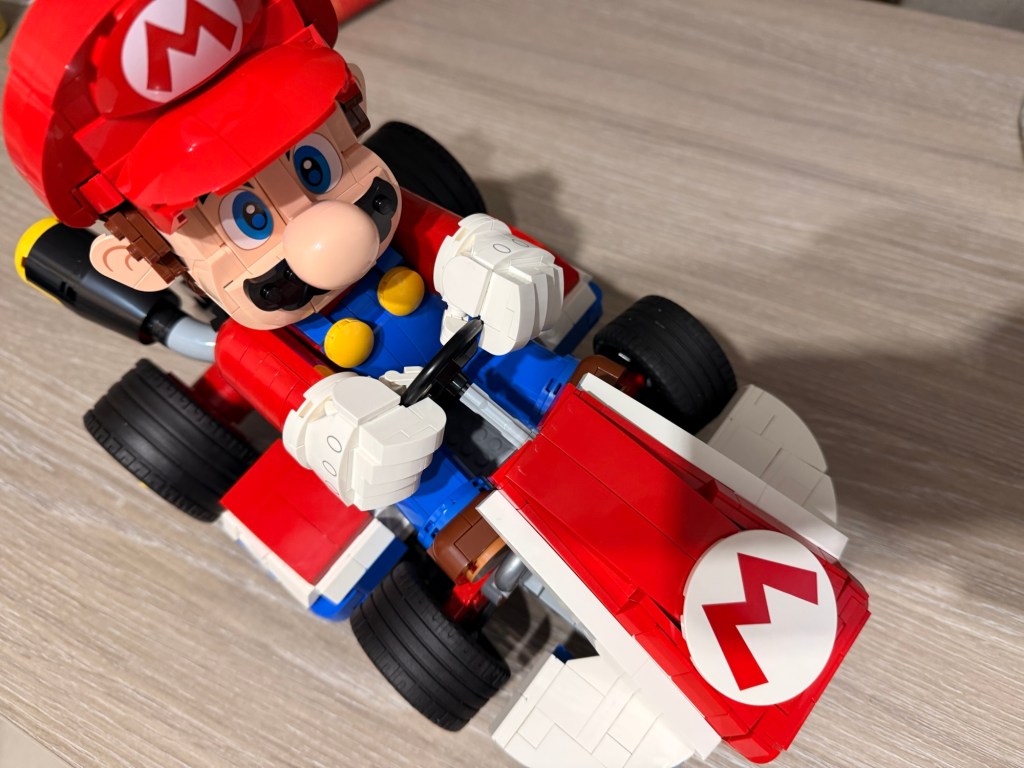
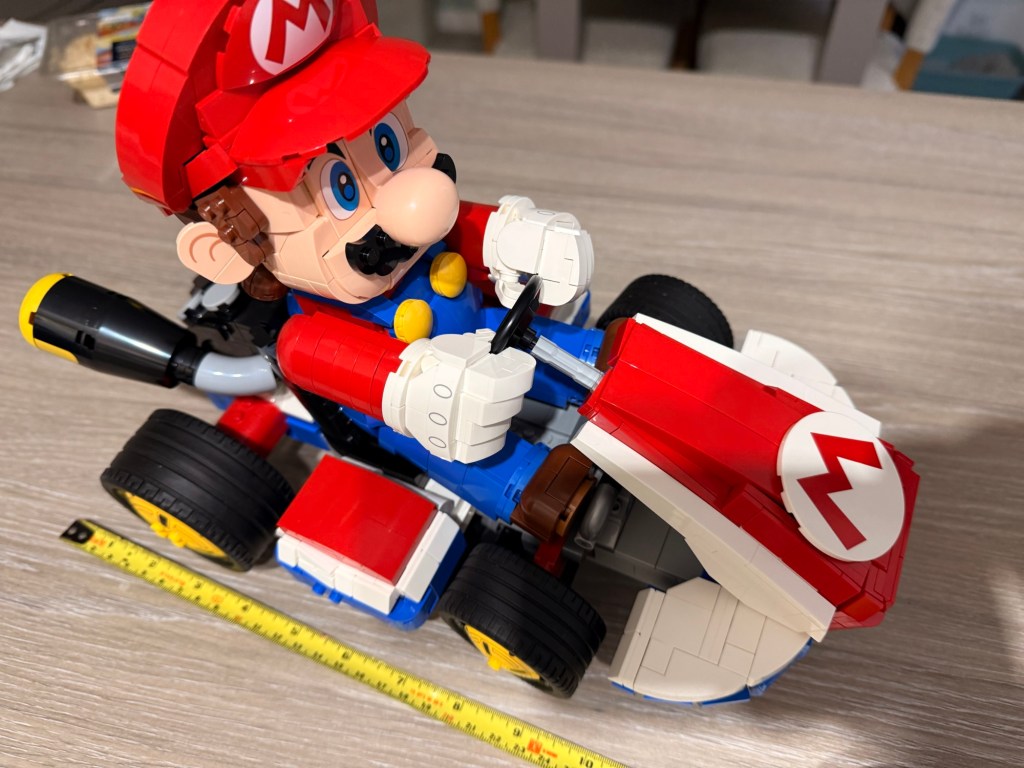
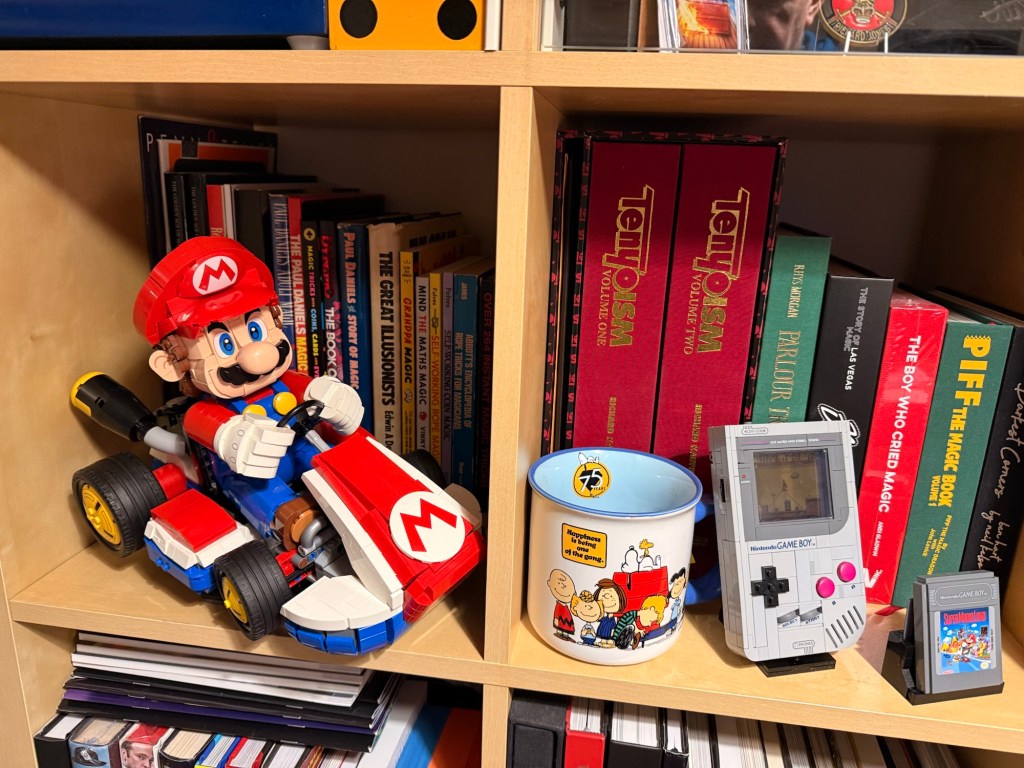
Overall, a very enjoyable build and it took perhaps around 8 hours to complete. The finished product looks amazing and I now have it on display in my home office.
The question now is – which kit next?